爬虫scrapy框架及案例:入门及使用
P3 03sacrapy的入门使用
🕐
安装 scrapy
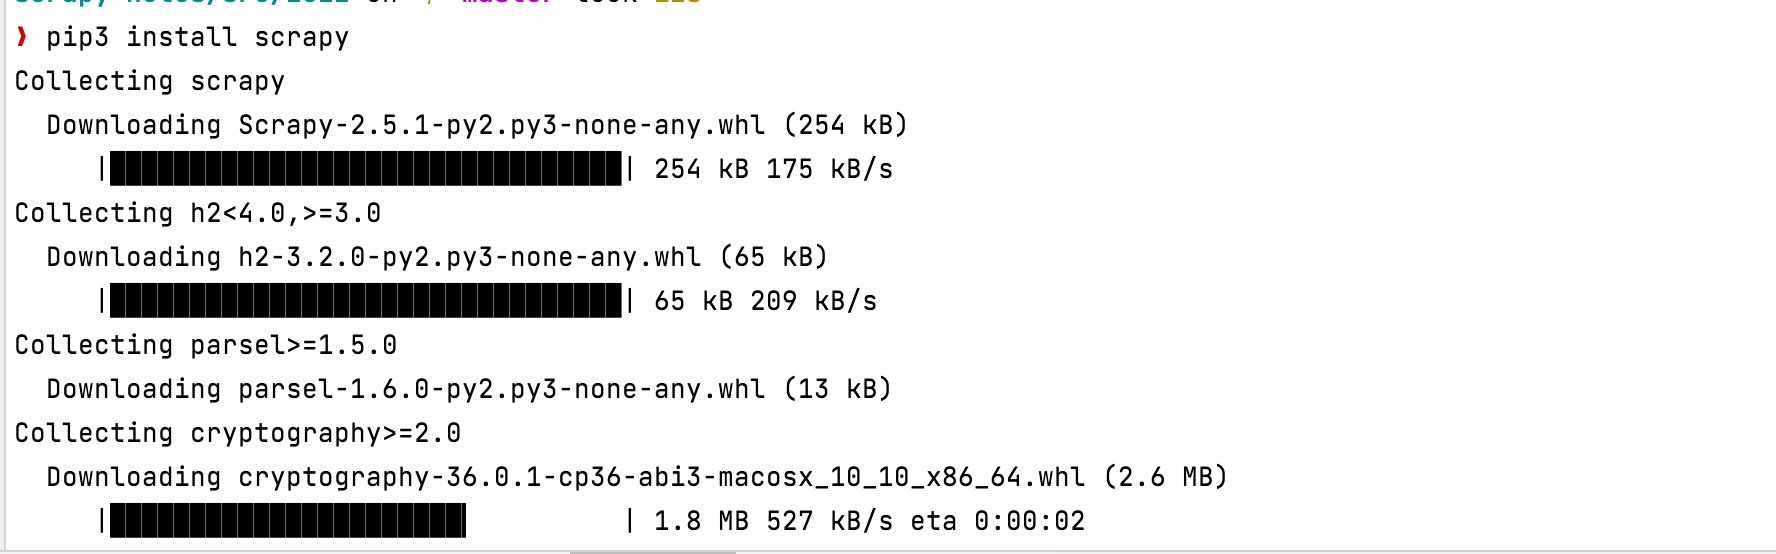
# 复用pip安装scrapy
pip3 install scrapy

# 升级(将pip3变成pip默认)
/usr/local/opt/python@3.9/bin/python3.9 -m pip install --upgrade pip
查看安装情况
scrapy-notes/src/2022 on 🌱 master
❯ scrapy --version
Scrapy 2.5.1 - no active project

Usage:
  scrapy <command> [options] [args]

Available commands:
  bench         Run quick benchmark test
  commands
  fetch         Fetch a URL using the Scrapy downloader
  genspider     Generate new spider using pre-defined templates
  runspider     Run a self-contained spider (without creating a project)
  settings      Get settings values
  shell         Interactive scraping console
  startproject  Create new project
  version       Print Scrapy version
  view          Open URL in browser, as seen by Scrapy

  [ more ]      More commands available when run from project directory

Use "scrapy <command> -h" to see more info about a command
常用的命令
# 创建一个项目(myspider 是项目名)
scrapy startproject myspider
# 生成一个爬虫`itcast`,指定范围(itcast.cn,一般写域名)
cd myspider
scrapy genspider itcast itcast.cn
# 启动一个爬虫(带参数爬虫名: itcast)
scrapy crawl itcast
项目结构
.
└── myspider
    ├── myspider
    │   ├── __init__.py
    │   ├── items.py
    │   ├── middlewares.py
    │   ├── pipelines.py
    │   ├── settings.py
    │   └── spiders
    │       └── __init__.py
    └── scrapy.cfg
pipline的设置
# 定义 pipline 以及 优先级,越小,越先被执行
#ITEM_PIPELINES = {
#    'myspider.pipelines.MyspiderPipeline': 300,
#}
# Define your item pipelines here
#
# Don't forget to add your pipeline to the ITEM_PIPELINES setting
# See: https://docs.scrapy.org/en/latest/topics/item-pipeline.html
# useful for handling different item types with a single interface
from itemadapter import ItemAdapter
class MyspiderPipeline:
def process_item(self, item, spider):
return item总结,爬虫几步曲
- 创建一个爬虫项目
startproject - 生成爬虫,可能是1个,可能是多个
genspider - 提取数据 ,使用
xpath/css等方法 - 保存数据 ,复用
pipline