添加 lint-staged
🕐
在项目中添加 lint-staged,做一些 git hooks 的处理工作
01 安装 lint-staged
安装为 devDeps
yarn add --dev lint-staged02 添加 .husky pre-commit 文件
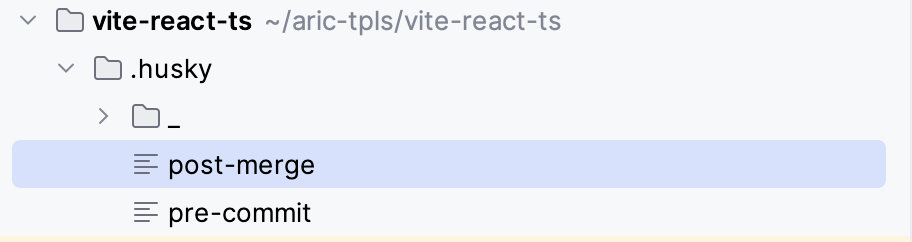
位置在 .husky/pre-commit
npx lint-staged --allow-empty添加 post-merge
yarn03 在 package.json 中添加 lint-staged
示例配置
{
  "version": "1.0.0",
  "type": "module",
  "scripts": {
    "dev": "vite",
    "build": "tsc && vite build",
    "preview": "vite preview",
    "prepare": "husky",
    "lint-fix": "eslint --fix",
    "format": "prettier --write"
  },
  "lint-staged": {
    "src/**/*.{ts,tsx}": [
      "bash -c tsc --noEmit",
      "npm run lint-fix",
      "npm run format"
    ]
  },
  "devDependencies": {
    "lint-staged": "^15.2.10"
  }
}
04 运行一下效果
改动代码,提交
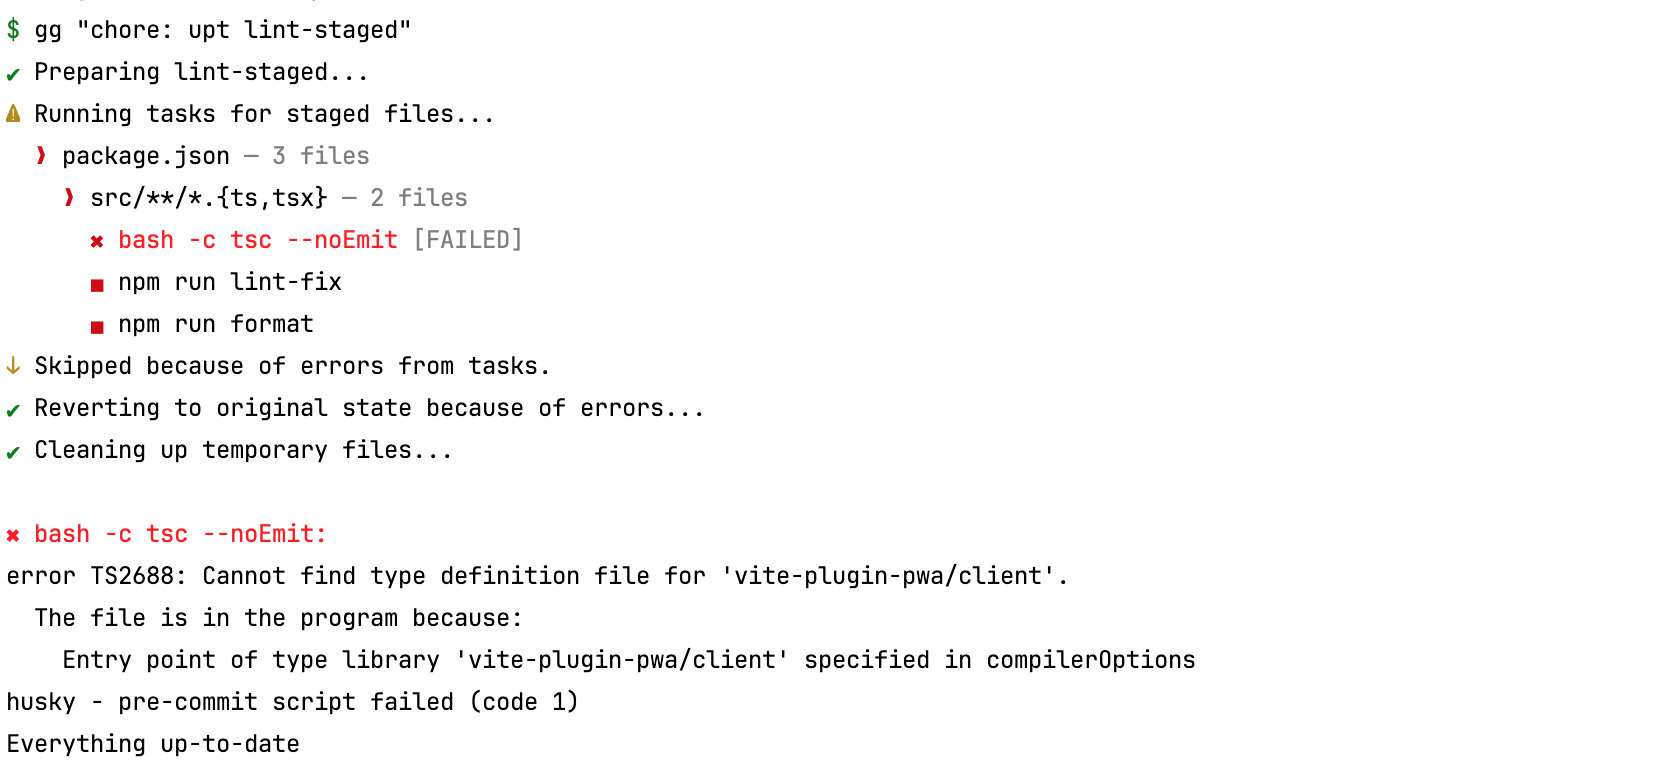
lint-staged
git